


Every craftsman has experienced the chaos of a messy workshop. It’s as if your tools decide to throw a party and forget to clean up afterward. But no worries. Organizing your workshop can be simple, and even fun. Imagine finding the right tool precisely when you need it, without the frustration of rummaging through a mountain of clutter. This guide will help him, her, or any DIY enthusiast to conquer workshop disarray and transform it into a haven of productivity.
Assessing Your Workshop Space
Before diving into organization tactics, take a good look at your workshop space. What are the dimensions? Is it cramped or spacious? Understanding the layout is crucial because it influences your storage options.
- Identify the work areas you need: Are there specific zones for woodworking, plumbing, or electrical work? By segmenting the space, you’ll logically position your tools. A workbench here, a cutting area there. It’s all about flow.
- Consider accessibility: Place frequently used tools within arm’s reach. Keep seldom-used items in a less accessible location. Don’t fall into the trap of putting something off just because it’s too hard to get.
Take a quick inventory and note items that don’t belong in the workshop. Old coffee cups? Dusty magazines? Out they go. A clean slate makes organizing much easier.
Understanding Tool Categories
Next, grouping your tools into categories can simplify your organization process.
- Hand tools: Hammers, screwdrivers, wrenches, these are the basics of many projects. Keep them together.
- Power tools: Drills, saws, and routers all need their spots, preferably where you can keep cords from tangling.
- Specialty tools: These might not be frequently used, but they still require proper storage. Whether it’s a tile cutter or a lathe, give them a designated area so they aren’t swallowed up in your tool collection.
Creating a categorization strategy means not just dividing tools but enhancing efficiency. He or she needs to be clear about what each tool does and where it should comfortably live.
Choosing The Right Storage Solutions
Now it’s time to choose how you’ll store these categorized tools. You’ve got options galore, so let’s narrow it down.
Implementing Organizational Systems
Good storage systems are critical for a well-organized workshop.
- Shelving Units: Adjustable shelves work wonders for keeping tools visible. It’s an open invitation to locate what’s needed without diving into chaos.
- Toolboxes and Organizer Bins: Great for smaller items like screws and nails. Using clear containers allows for easy identification.
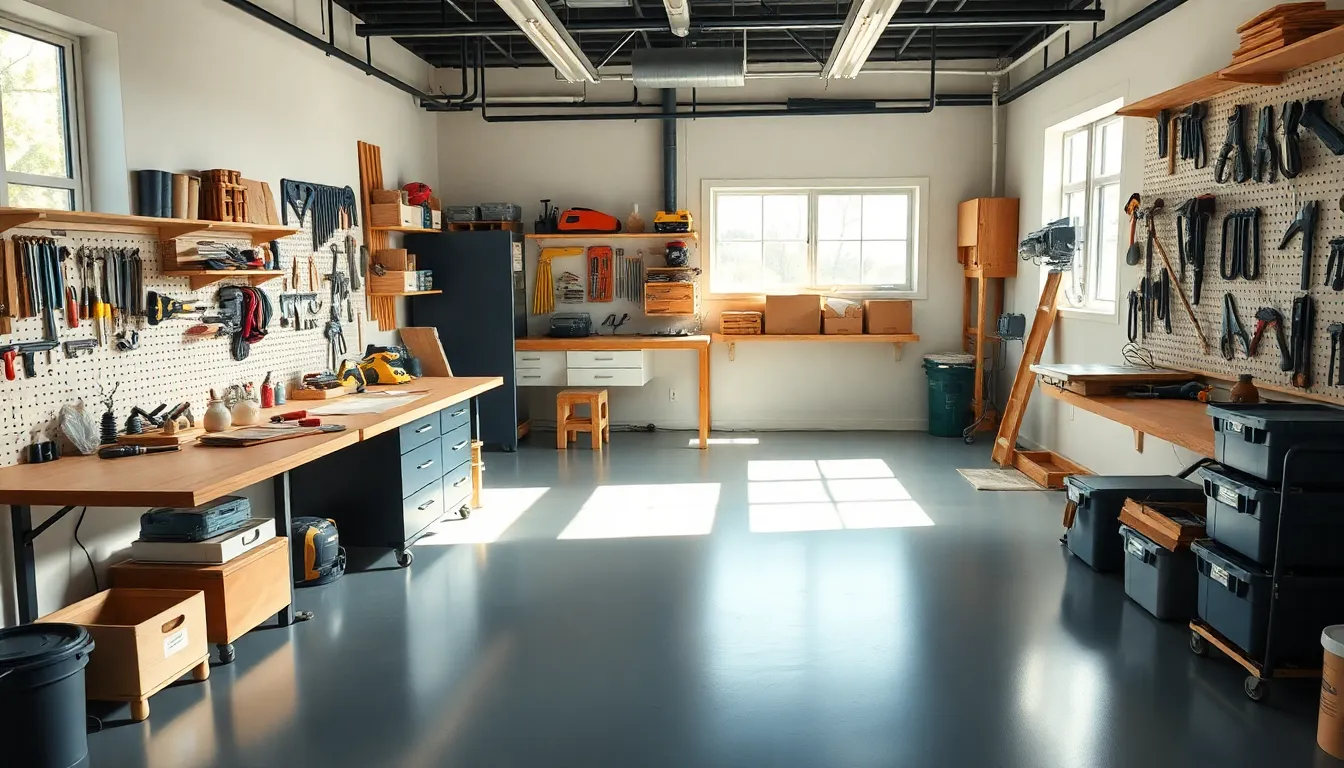
- Pegboards: A fantastic option. They allow tools to hang freely, providing easy access and visibility.
Labeling And Visibility Techniques
Labeling is your friend. Whether it’s bins, drawers, or shelves, act like you’re leaving breadcrumbs for your future self.
- Use a label maker or some masking tape with a permanent marker to clearly label each storage area. He or she should ensure all items have their designated spots.
- Color coding can also add an extra layer of organization, particularly for easily-reachable items.
Hands-on visibility is key when managing tools. With these storage solutions, finding tools becomes a breeze.
Maintaining Your Organized Space
Organizing doesn’t stop once you’ve sorted everything out. Keeping it that way is the real challenge.
Tips For Long-Term Organization Success
- Regular Clean-Ups: Schedule periodic organization days. A quick fifteen minutes can prevent clutter from returning.
- Adjust as Necessary: Don’t hesitate to change your layout as your collection grows or your projects evolve. Be flexible.
- Educate Yourself: Read up on new organizing tips. Many DIY enthusiasts come up with ingenious solutions.
Adopting a mindset of upkeep is essential. Forge a workshop that not only looks organized but feels welcoming and inspiring.


