

Table of Contents
ToggleEver felt like your iPhone 11 is dressed up for a wrestling match? That’s the magic of the OtterBox case—tough, rugged, and ready to take on the world. But when it’s time to show off that sleek design or swap cases, getting that stubborn case off can feel like a scene from a superhero movie.
Fear not! Removing an OtterBox case doesn’t require superhuman strength or a degree in engineering. With a few simple steps, he or she can free their phone from its protective shell without breaking a sweat. Dive into this guide to discover the secrets of case removal that’ll leave your iPhone looking as good as new and ready for its close-up.
Understanding OtterBox Cases
Understanding OtterBox cases enhances the removal process. These cases provide superior protection, making them popular among iPhone 11 users.
Types of OtterBox Cases for iPhone 11
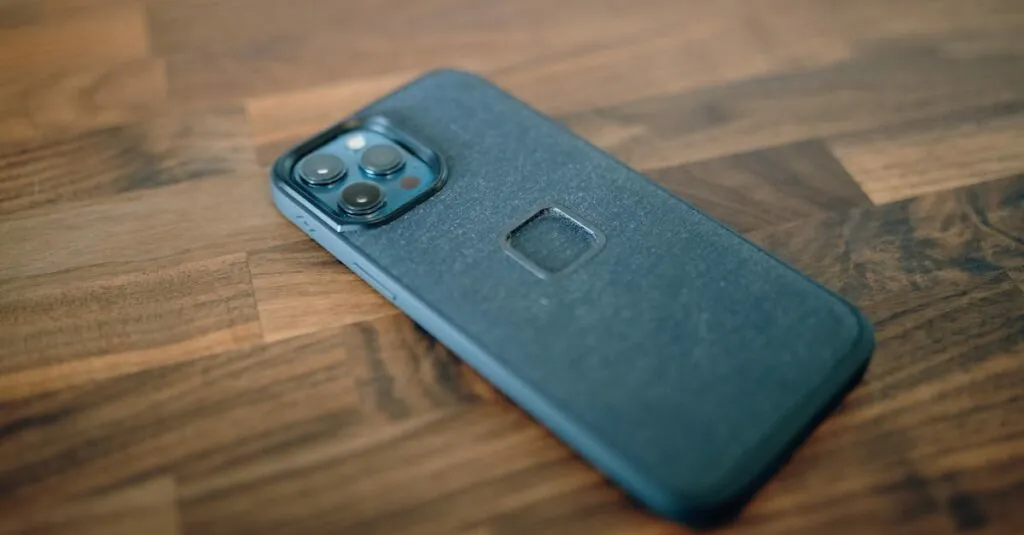
OtterBox offers several types of cases for iPhone 11. The Defender Series features multi-layer protection, ideal for heavy-duty users. The Commuter Series delivers a slim profile while offering reliable protection against drops. The Symmetry Series combines style with functionality, allowing for a sleek look without sacrificing defense. Each case type caters to different user needs, from rugged outdoor activities to everyday use.
Features of OtterBox Cases
OtterBox cases include various features that prioritize device safety. They often contain raised edges to protect the screen during falls. Some cases utilize antimicrobial technology, guarding against bacteria. Port covers prevent dust and debris from entering charging ports and speakers, ensuring longevity. Additionally, one-piece designs simplify installation and removal, making it easy for users to switch up their style or clean their devices.
Tools Needed to Remove the Case
Removing an OtterBox case from an iPhone 11 requires minimal tools. Just a few items make the process straightforward and effective.
Recommended Tools
- Plastic prying tool aids in gently separating the case from the phone.
- Soft cloth protects the phone’s screen while working on the removal.
- Tweezers assist in reaching tight areas, especially for the Defender Series.
- A small bowl stores screws and small components securely.
Safety Precautions
- Ensure the work area is clean and free of debris to avoid damage.
- Handle the device carefully to prevent scratches on the iPhone.
- Avoid using metal tools to prevent unintentional harm to the case or phone.
- Keep the phone powered off during the removal process to ensure safety.
Step-by-Step Guide to Remove the OtterBox Case
Removing an OtterBox case can be straightforward with the right approach. Follow these steps to easily take off the case without damaging your iPhone 11.
Removing the Front Cover
Start by placing the iPhone 11 on a soft surface to prevent scratches. Use a plastic prying tool to gently insert between the front cover and the back casing. Apply light pressure to lift the front cover, working your way around the edges. If necessary, use tweezers to help detach stubborn areas. Once fully loosened, lift the front cover off the device, ensuring you keep track of any small components that might dislodge.
Removing the Back Cover
After the front cover is removed, focus on the back cover. Firmly grasp the iPhone and locate the edge of the back casing. Insert the plastic prying tool into the gap to pry it open. Move the tool along the edges to release the clips that secure the back cover. Once released, carefully lift the back cover away from the device. Store all screws and components in a bowl to keep everything organized. Be gentle throughout this process to avoid any damage to your phone or the case.
Troubleshooting Common Issues
Removing an OtterBox case can sometimes present challenges. Users may encounter specific issues that make the task more difficult than anticipated.
Difficulty With Removal
Difficulty with removal often stems from the case’s snug fit. Users frequently struggle with the tightness due to the rugged design. Sometimes, applying even, steady pressure during the removal process helps in detaching the case. One tip involves working around the edges to loosen it incrementally. If the case feels particularly stubborn, revisiting the steps with a plastic prying tool may provide the leverage needed. Avoid forcing the case off, as this could lead to damage to the device or the case itself.
Inspecting for Damage
Inspecting the case and device for damage is crucial before proceeding with removal. Users should closely examine the OtterBox for any signs of wear, cracks, or loose pieces. Noticing any damage might indicate that extra care is necessary during the removal process. Checking the iPhone 11 for scratches or dents can help in preventing further issues. It’s beneficial to ensure that any small components are intact as well, as these can affect the fit of the case. Thorough inspections create a smoother, safer removal experience.
Removing an OtterBox case from an iPhone 11 can be a straightforward task when approached with the right techniques. By following the outlined steps and using the recommended tools users can efficiently detach the case without causing damage to their device.
It’s essential to handle the iPhone and the case carefully to prevent any potential issues. With a bit of patience and attention to detail users can enjoy the sleek design of their iPhone 11 once the case is off. Whether opting for the Defender, Commuter, or Symmetry series, understanding the removal process enhances the overall user experience.