
Table of Contents
ToggleA cluttered workshop kills productivity faster than a dull blade. When wrenches hide behind paint cans and drill bits scatter across every surface, simple tasks balloon into frustrating scavenger hunts. The solution isn’t more storage bins or another roll-around cart, it’s a well-organized pegboard system that puts every tool within arm’s reach and returns it to the same spot every time. Pegboard isn’t just retro workshop décor: it’s one of the most flexible, affordable, and practical storage solutions available. With the right layout strategy and hook selection, a pegboard transforms chaotic tool piles into an efficient, visual inventory that saves time on every project.
Key Takeaways
- Organizing tools on a pegboard maximizes workshop efficiency by providing visual access, adaptability, and faster retrieval speed compared to drawers and cabinets.
- Plan your pegboard layout before mounting by inventorying tools, measuring your space, and sketching a rough design with heavy items first and smaller tools filling gaps.
- Group tools by function and frequency of use—arrange measuring, cutting, and fastening zones to mirror natural workflow and prioritize daily-use items at chest-to-shoulder height.
- Invest in heavy-duty hooks like double-prong J-hooks for heavier tools and specialty brackets for power tools, while single-prong hooks work for lightweight screwdrivers and pliers.
- Create visual accountability by outlining tool silhouettes with paint or vinyl tape and labeling each location, ensuring tools return to the same spot every time.
- Maintain your pegboard system long-term by enforcing the one-touch rule, auditing quarterly, and involving other workshop users so the organization stays consistent.
Why Pegboard Organization Maximizes Your Workshop Efficiency
Pegboard delivers three critical advantages over shelves, drawers, and cabinets: visual access, adaptability, and retrieval speed.
First, visual access means you spot the right tool instantly. No digging through drawers or moving stacks. When a hammer, square, or pair of pliers hangs in plain sight, your brain processes the location faster than reading a label. This cuts decision fatigue and keeps workflow smooth.
Second, adaptability means hooks move whenever your tool collection changes. Buy a new angle grinder? Shift two hooks over. Retire an old cordless drill? Fill the gap with measuring tapes. Unlike fixed shelves or foam inserts, pegboard grows with your needs.
Third, retrieval and return speed keeps tools from migrating. When every item has a dedicated spot, there’s no excuse to set a screwdriver on the workbench “just for now.” That habit compounds into clutter. A pegboard enforces accountability because empty hooks are obvious.
Pegboard also maximizes vertical space, which is often wasted in garages and basements. Wall-mounted storage frees up benchtop real estate for actual work, not tool parking. For small shops, that’s the difference between a functional workspace and a glorified closet.
Plan Your Pegboard Layout Before You Start
Most DIYers mount the pegboard first, then randomly hang tools. That’s backward. Planning on paper, or even with painter’s tape and cardboard templates, prevents wasted effort and poor ergonomics.
Start by inventorying your tools. Lay everything out on the floor or a worktable. Separate hand tools, power tools, measuring instruments, fasteners, and accessories. This reveals what you actually own versus what you think you own. You’ll likely find duplicates, broken items, or tools you forgot existed.
Next, measure your pegboard area. Standard pegboard comes in 4′ × 8′ sheets, but most installations use 4′ × 4′ or 2′ × 4′ sections. Account for wall studs (pegboard needs ¾” to 1″ standoff from the wall so hooks fit). If you’re mounting over drywall, use 1×2 or 1×3 furring strips as spacers, screwed into studs every 16″ on center. For masonry walls, use concrete anchors rated for the pegboard’s weight plus tools.
Sketch a rough layout. Place the heaviest, bulkiest items first, power drills, circular saws, angle grinders. These need robust double-hook hangers or specialty brackets. Then map out mid-sized tools like hammers, levels, and squares. Finally, fill gaps with smaller items: screwdrivers, pliers, tape measures.
Group Tools by Function and Frequency of Use
Logical grouping eliminates wasted motion. Arrange tools by task zones rather than alphabetically or by size.
For example, create a layout and measuring zone: tape measures, combination squares, speed squares, chalk lines, and pencils. When framing or cutting sheet goods, you’ll grab everything from one spot. Nearby, establish a cutting zone: handsaws, utility knives, snips, and a small hook for spare blades.
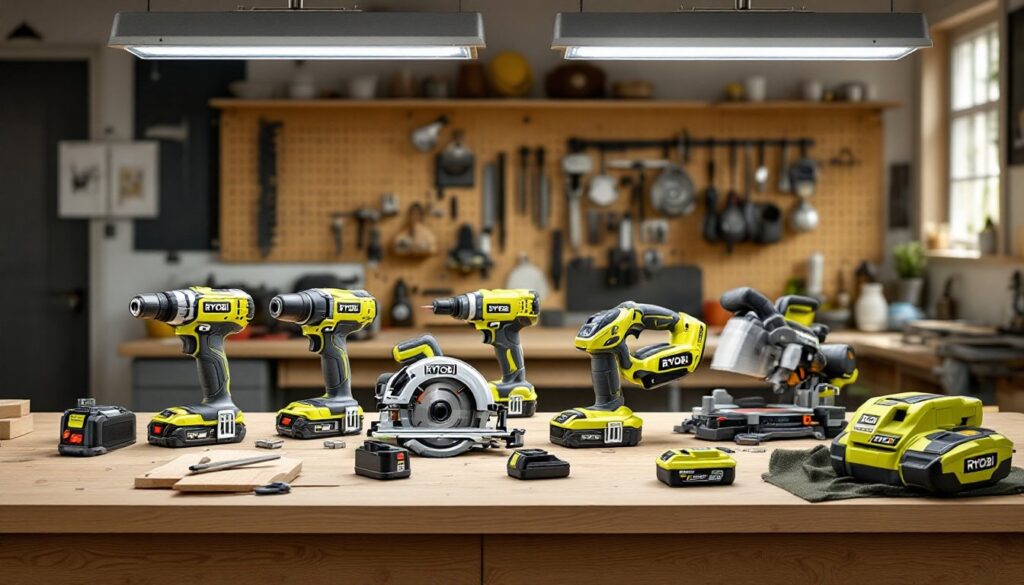
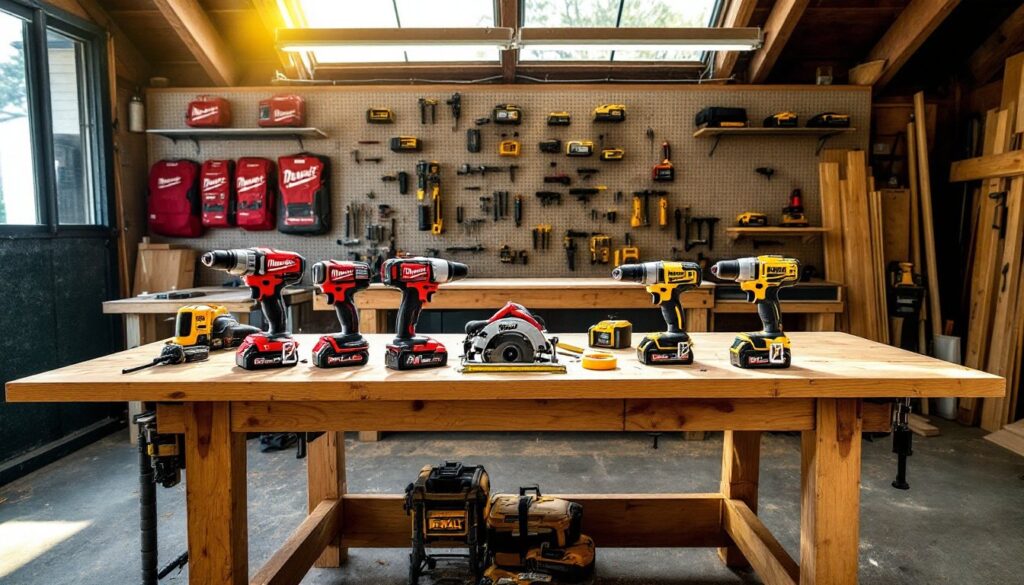
Power tools often live on a pegboard in workshop storage systems or a lower shelf because of weight. But their batteries, chargers, and accessories belong on pegboard near the corresponding tool. A cordless drill is useless if its bits are in a drawer across the room.
Prioritize frequency of use within each zone. Daily drivers, speed square, tape measure, utility knife, go at chest to shoulder height. Specialty tools like a tenon saw or drift punch can sit higher or lower. If you only use a tool monthly, it doesn’t deserve prime real estate.
Many pros recommend workshop layout strategies that mirror a kitchen’s work triangle: measure, cut, fasten. Apply that logic to pegboard placement. Position measuring tools left of center (for right-handed users), cutting tools center, and fastening tools (screwdrivers, nut drivers, wrenches) right. Reverse for lefties.
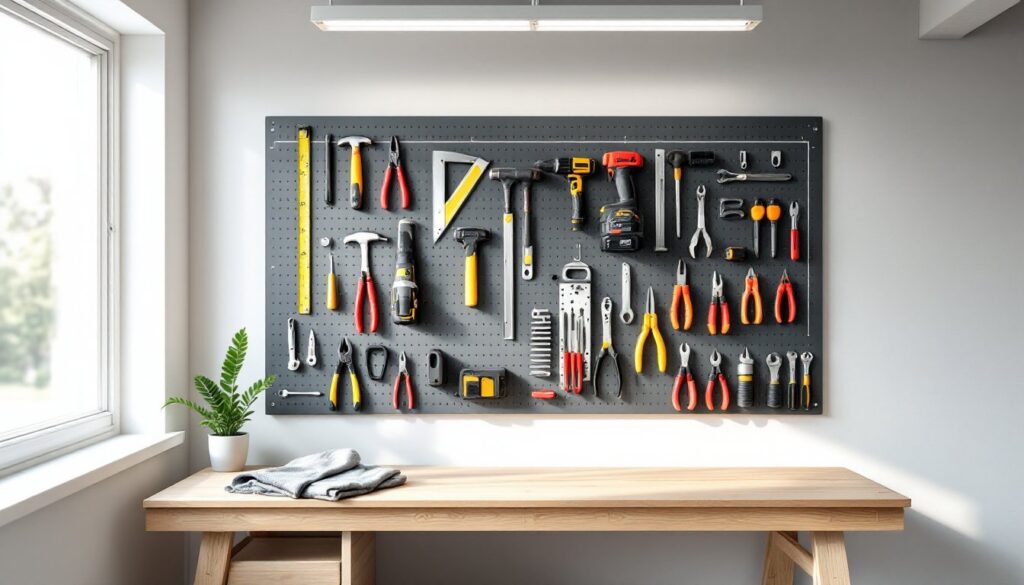
Choose the Right Pegboard Hooks and Accessories
Standard pegboard uses ¼” diameter holes spaced 1″ on center in a grid. Most hooks fit this pattern, but quality varies wildly. Cheap stamped-steel hooks bend under load or fall out when you remove a tool. Invest in heavy-duty coated steel or cast-aluminum hooks with locking tabs or retainer clips.
Single-prong hooks work for lightweight items: screwdrivers, pliers, tape measures. Look for hooks with a 90-degree bend and a vinyl or rubberized tip to prevent tools from sliding off.
Double-prong hooks (also called J-hooks or utility hooks) support heavier tools like hammers, mallets, and handsaws. The dual-peg design distributes weight and prevents twisting.
Specialty brackets handle power tools, cordless drills, and circular saws. These often use three or four pegs and cradle the tool’s body. Some designs include a shelf for batteries or accessories.
Bins, baskets, and shelves attach via pegboard hooks and hold fasteners, sandpaper, or small parts. Clear plastic bins work well for visibility: metal bins are more durable.
Tool holders for specific items, such as screwdriver racks, plier organizers, or wrench hangers, keep like items bundled. A six-slot screwdriver holder beats six individual hooks for both speed and neatness.
Don’t mix pegboard hole patterns. ¼” standard pegboard is most common, but some European or specialty systems use 5mm or ⅛” holes. Hooks won’t fit across systems. Verify hole size before buying accessories.
For tools that don’t fit standard hooks, fabricate custom hangers from ¼” steel rod or heavy wire. Bend a U-shape, insert both legs into pegboard holes, and adjust the curve to match the tool’s shape. This works well for oddball items like calipers, bevel gauges, or Japanese pull saws.
Strategic Tool Placement: From Most-Used to Specialty Items
Ergonomics dictate efficiency. Place tools based on reach zones: primary, secondary, and tertiary.
Primary zone (chest to eye level, 48″ to 60″ from the floor): Your most-used tools live here. Tape measures, utility knives, speed squares, and the screwdrivers or nut drivers you reach for daily. This zone requires minimal shoulder or back movement.
Secondary zone (waist to chest, 30″ to 48″): Frequent but not constant-use tools. Hammers, levels, chisels, files, and mid-tier hand tools. You’ll bend slightly or extend your arm, but it’s still comfortable.
Tertiary zone (below waist or above eye level): Specialty or seasonal items. A bricklayer’s trowel, a quirky vintage plane, or that oscillating multi-tool you use twice a year. These zones are less convenient but still visible and accessible.
Balance weight across the pegboard. Don’t cluster five heavy power tools on one side, pegboard can bow or pull fasteners loose. Distribute mass evenly, and anchor the board into at least three studs if mounting a full 4′ × 8′ sheet.
Leave breathing room. Pegboard looks impressive when packed tight, but you’ll knock adjacent tools loose when retrieving one. Space larger items 2″ to 3″ apart. Smaller tools can sit closer, but avoid overlapping handles.
Consider task sequencing. If you always mark, cut, then sand, arrange tools left-to-right (or top-to-bottom) in that order. This mirrors natural workflow and reduces backtracking.
For electrical tool storage needs, allocate a dedicated section for wire strippers, voltage testers, fish tape, and cable cutters. Keep these separate from woodworking tools to avoid cross-contamination (metal shavings and electrical work don’t mix).
Label and Outline Your Tools for Easy Returns
The best pegboard layout fails if tools don’t return to their assigned spots. Outlining and labeling create visual accountability.
To outline hand tools, place each item on the pegboard, trace its silhouette with a permanent marker or paint pen (white or yellow shows well on dark pegboard), then remove the tool and fill in the outline. Alternatively, use vinyl tape in a bright color. This method is removable if your layout changes.
For power tools or complex shapes, snap a photo before mounting, print it, and tape the photo near the tool’s location. Or use a label maker to print the tool name on a small tag below the hook.
Outlines work best when they’re simple and generous. A perfect silhouette looks great on Instagram but frustrates in practice. A rough oval or rectangle is faster to interpret and forgive minor misalignment.
Some DIYers spray-paint tool outlines using the actual tool as a stencil. Lay the pegboard flat, position tools, and apply light coats of high-contrast spray paint (fluorescent orange, lime green, or white). This delivers sharp, permanent outlines but requires repainting if the layout changes.
Labeling is especially helpful for shared workshops or when training family members. A simple tag, “10” ADJ WRENCH” or “TORPEDO LEVEL”, prevents the “where does this go?” question. For households managing multiple hand tools used daily, clear labeling reduces arguments and misplaced gear.
Digital layouts work for obsessive organizers. Photograph your pegboard, import the image into drawing software, and annotate tool names and zones. Print and laminate a reference card, or keep it on your phone. This sounds excessive until you’re reorganizing or documenting insurance inventory.
Maintain Your Pegboard System for Long-Term Success
Pegboard organization isn’t a one-time project, it’s an ongoing discipline.
Enforce the “one-touch” rule: When finished with a tool, return it immediately. Not “later,” not “after this cut.” Every deviation compounds. Within a week, your pegboard becomes wallpaper and the bench becomes a junk pile.
Audit quarterly. Every three months, remove all tools, inspect hooks for damage, and reassess your layout. Did you buy new tools? Retire old ones? Shift hooks accordingly. Wipe down the pegboard with a damp rag to remove dust and cobwebs.
Upgrade hooks as needed. If a hook bends or a tool keeps falling, replace it with a heavier-duty version or switch to a specialty bracket. Don’t tolerate friction in your system, small annoyances snowball into abandoned habits.
Protect the pegboard. Standard ¼” tempered hardboard pegboard resists moisture better than cheaper options, but it’s not waterproof. In damp basements or unheated garages, consider metal or plastic pegboard. Metal versions (often powder-coated steel) won’t sag or swell but cost more. Plastic pegboard is lightweight and rust-proof but can crack under heavy loads.
If using hardboard, seal the back and edges with primer or polyurethane before installation to resist humidity.
Expand vertically. As tool collections grow, add a second pegboard tier or extend the existing sheet. Many workshops feature an upper pegboard section for rarely used tools and a lower section for daily drivers. This two-tier approach maximizes wall space without sacrificing accessibility.
Finally, involve anyone else who uses the workshop. Show them the system, explain the zones, and make it clear that a pegboard only works when everyone plays along. If you’re hunting for budget-friendly tool deals or expanding your kit, plan pegboard space before buying. That prevents the classic mistake: acquiring tools faster than you can organize them.
A well-maintained pegboard isn’t just tidy, it’s a productivity multiplier. When every tool lives in plain sight and returns to the same spot, projects start faster, finish cleaner, and feel less like a chore. That’s the real payoff: more time building, less time searching.